In continuance with my Fixer Upper references, we had a full-fledged Demo Day at the old/new house. (Building a new house is a whole process around here. Before we can begin the new house part, we have to repair the old house part. Step by step, y’all.) Carpet was ripped up, walls were torn down, body parts went through sheetrock–it was just like Chip and JoJo on Fixer Upper, Alabama style.
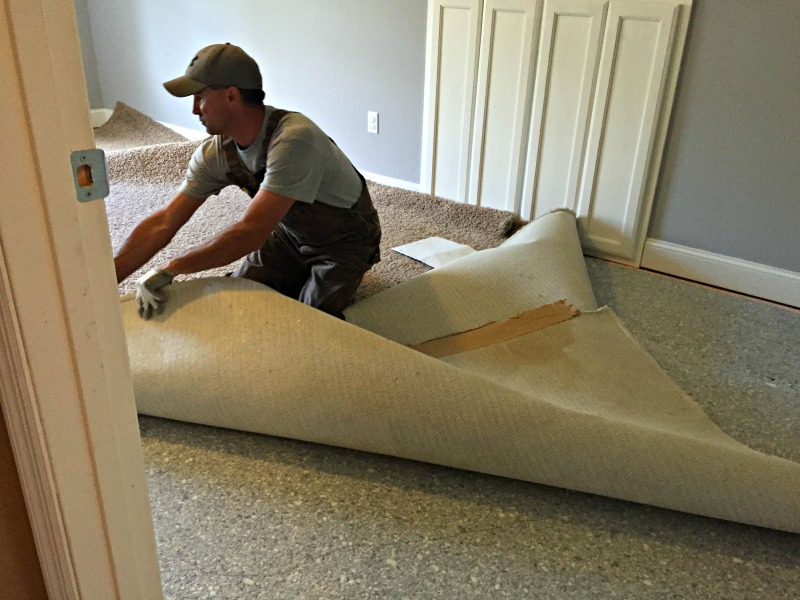
Our first step was to get all the yucky, smelly carpet pulled up. Justin and I pulled all the carpet and padding. Our carpet was cut into semi-small sections already, so rolling it up wasn’t an issue. If you are pulling up carpet in a bigger area, I would recommend cutting it. Carpet is heavy, y’all.
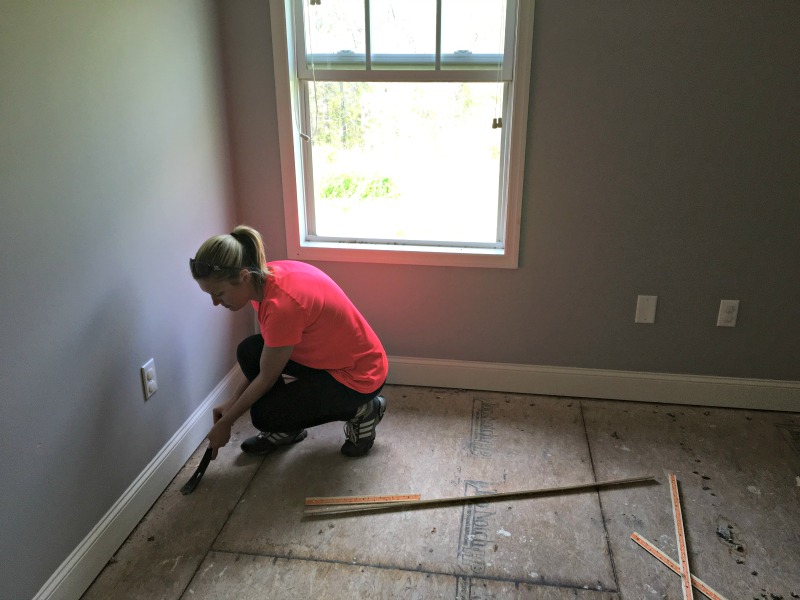
Justin had to take care of some electrical things (moving wires and whatnot) from the wall we were going to remove, so I was given the lovely job of removing all the tack strips and staples from the floor. (I definitely drew the short stick, you guys. Those things are no joke! I was sore for days.)
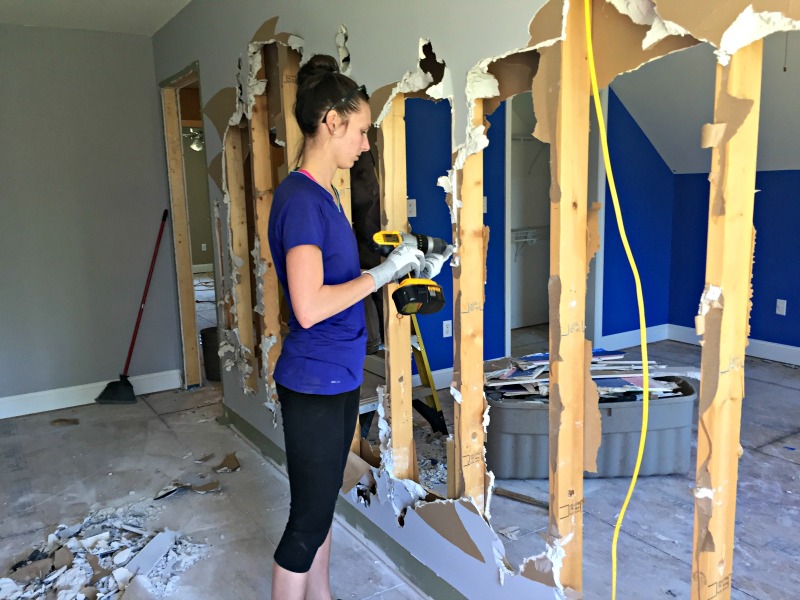
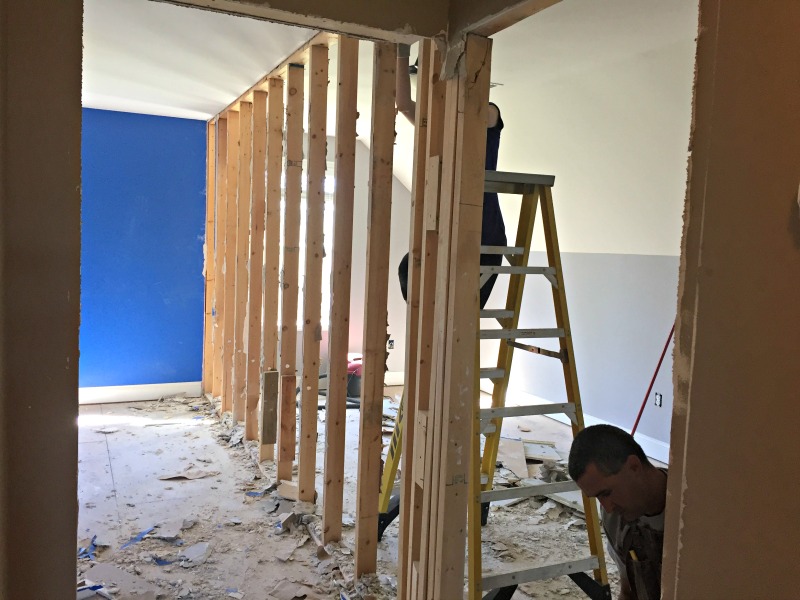
With the wiring gone and the nasty flooring removed, it was time to tackle that wall. Now, in hindsight, it would have been much easier to do this Justin’s way. Had we methodically cut the sheetrock and removed it piece by organized piece, clean up would have been a breeze. But we did it my way.
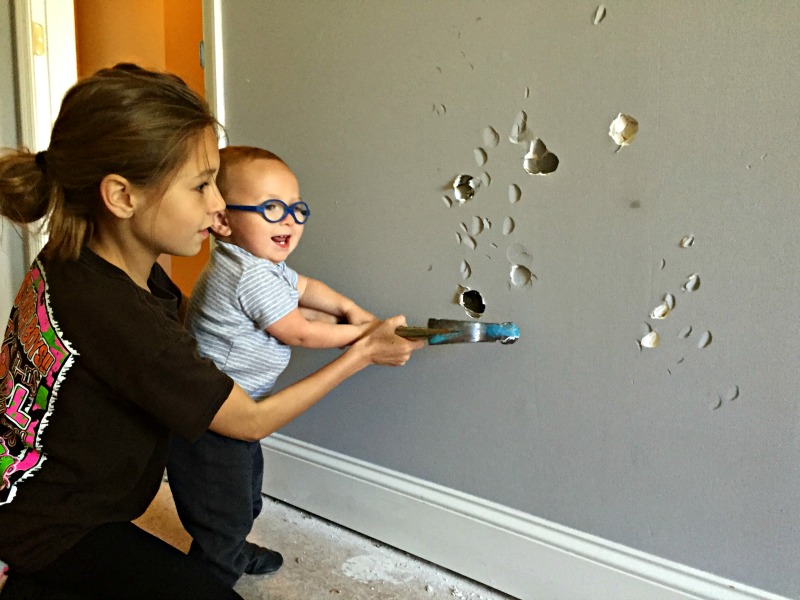
We used regular hammers and sledgehammers and child laborers.
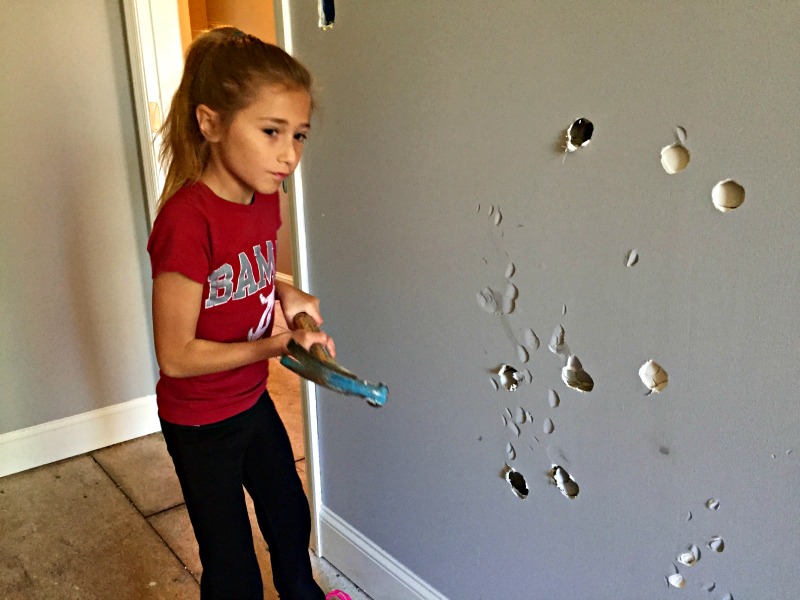
There may have even been a body part or two make its way through that sheet rock. An entertaining time was had by all, that’s for sure. A few bruises may have shown up, as well.
I even talked Justin into having a little fun, although clearly, his heart wasn’t in it. =)
With the sheet rock down, it was time to cut out the studs. We were/are hoping to reuse those, so Mal and I went through and removed all the nails and screws from each board before they were cut.
So how about an overview of our progress so far?
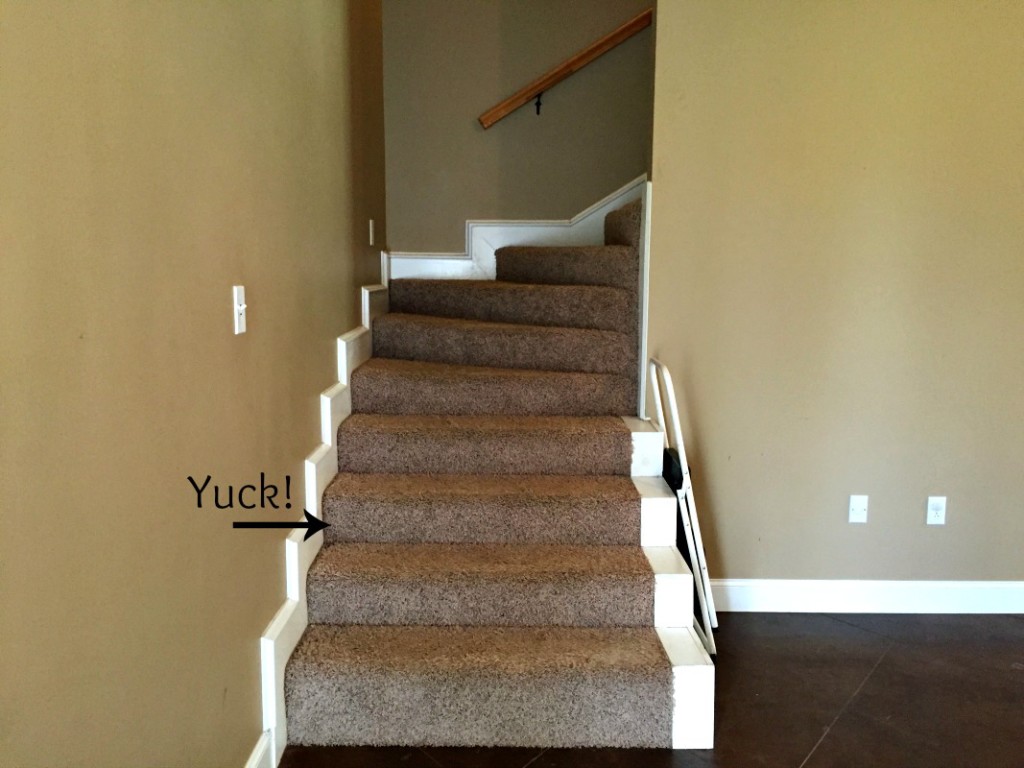
Here are our stairs before:
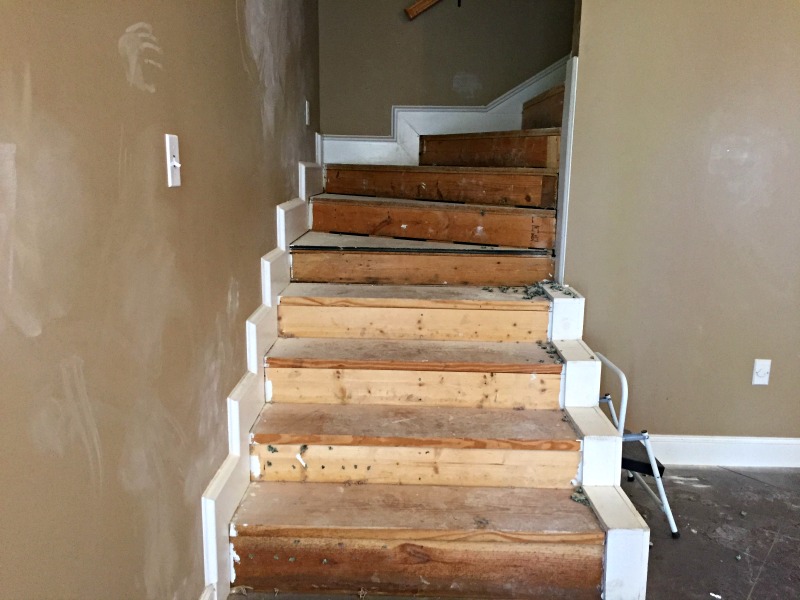
And in progress:
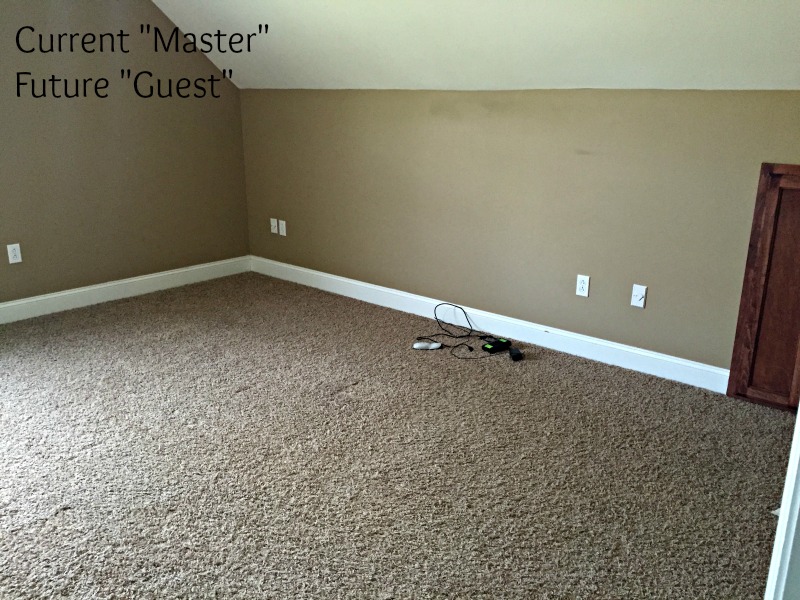
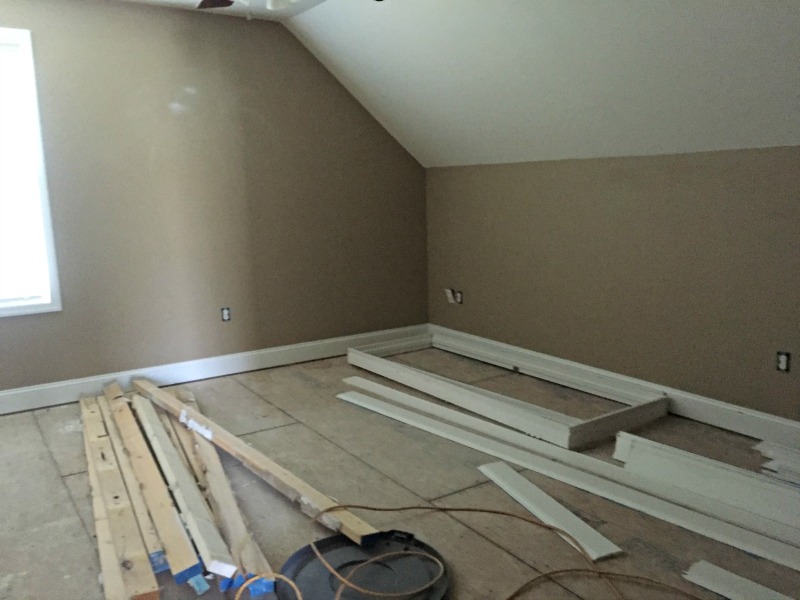
The master bedroom, before:
And in progress, carpet-less, as a make-shift storage space for those reusable trim pieces and door frames:
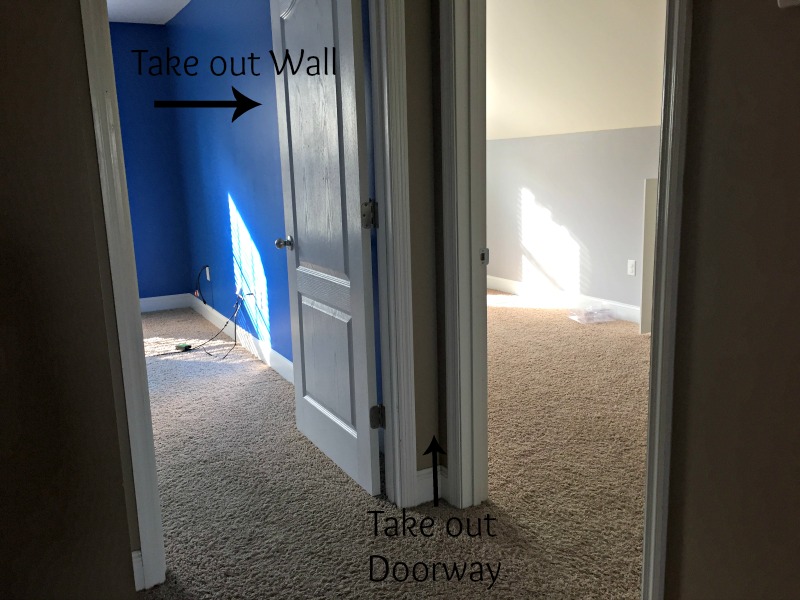
The bedrooms, before:
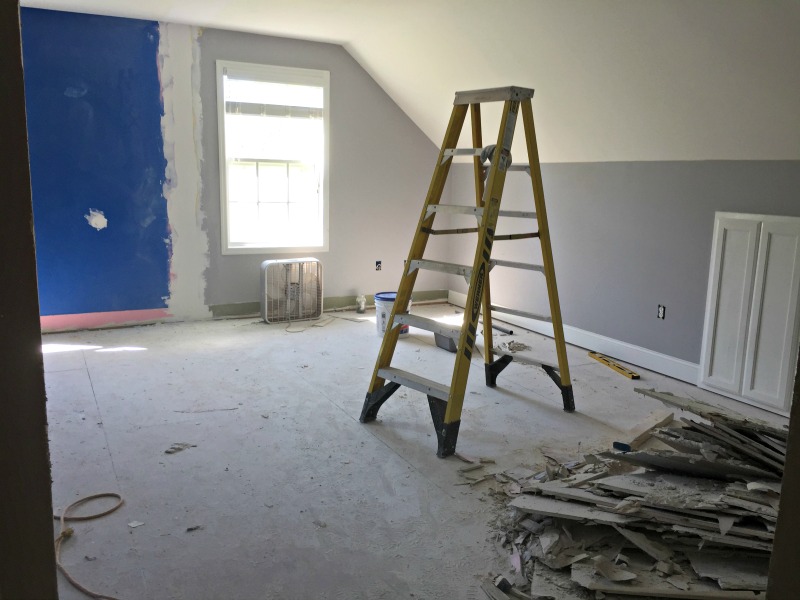
And in progress, as the future bonus room:
Our to-do list:
Remove all carpet, padding, etc.- Put in new flooring.
Remove wall and doorways between two bedrooms.- Paint every square inch of sheet-rock (this even includes ceilings!)
Seal concrete floors downstairs.Edited: We have not done this, but upon further inspection, have decided against re-sealing the floors. As a garage, they will be fine as is.- CLEAN!
We are aiming to be completely finished with the Fixer Upper portion of our forever home in two weeks. We’ll move in and begin the new portion. It’s definitely a process, but at least it’s a fun process!

