Sweet Home Alabama | Building A House

AlabamaAcresWell, it’s official.  We are doing it.  We are moving back to the farm and hopefully building our forever home (which I affectionately call “Alabama Acres.”)  This has been a ten-year process and I am so excited to finally get this ball rolling.  Let me give you the back story:

When Justin and I first married, we lived in an 800 square foot apartment above my grandparents’ garage.  It was perfect for us and still really nice when Kyndall was born.  When we started thinking about adding another baby to the mix, we knew we needed something with more space.

My family owns around 400 acres of farmland in Lawrence County, Alabama.  We picked out a great spot to build on, right smack in the middle, between my grandparents and my parents.  We knew we wouldn’t be able to afford to build our forever home at that point in our lives, so we built what would later become our garage.  For the time being, it was perfect.  Wide open layout with a kitchen, living, and utility downstairs and three bedrooms and a bath upstairs.

Fast forward about four years and we started looking at building, again.  This was right around the time the market was dropping and things just weren’t in our favor.  The bank would approve us to buy a house, but not build one.

We happened upon a nice house in town, about four minutes from my work and the girls’ school.  We thought it would be fun to try out subdivision living for a while.  We moved into town and rented out our garage apartment to some friends, and that’s where we’ve been for the last five years.

Add yet another baby to the mix and our family of five is getting a little cramped in our three bedroom home.  After MUCH prayer and conversation, we’ve decided now is the time to go back home.  We want land and space and chickens again.

We’ve sold our house in town (to Justin’s parents, how convenient) and in a little over two weeks will be moving in with my parents.  (Right now, we still have renters in the garage apartment and we want to do some repairs after they move out before we move back in.)

House plans are being drawn, boxes are being packed, and every spare penny is being saved.  (I don’t know if you’ve attempted to build a house lately, but the bank requires a left arm and your firstborn child as downpayment. Be warned.)

I’m so excited about picking out windows and sinks and lighting.  Libby has already requested a chandelier in her bedroom, how fitting.  Kyndall has requested for us to have goats again.

You guys, I can’t wait to document every step of this experience and share it with you!

Updated to add:  Check out our plans here!

The Life-Changing Magic of Tidying Up (KonMari)

This month’s Collaboreads topic was “something to make you better.”  I knew right away I wanted to read/review The Life-Changing Magic of Tidying Up by Marie Kondo.  I have heard about Marie Kondo and the KonMari method of decluttering from almost every blogger I know.  Marie Kondo has definitely begun a global decluttering craze, for sure.

This book was especially interesting to me right now-I am on a major organizing/decluttering kick myself.  I have discovered my inner cozy minimalist and have this urge to get rid of stuff.  And Kondo’s process–getting rid of everything that doesn’t spark joy–is genius.

I’m going to save you some time–if you’ve read the blog posts (this one, or any other), you can skip the book.  The idea is to take everything out of your space and only put back the things you love.  (Marie suggests you touch each item.  She also suggests if you are getting rid of an item, to thank it for how it’s helped you.  I don’t personally talk to my clothes, but if that’s your thing…..)

Barring Marie’s close relationship with her stuff, the process of choosing what I like rather than what I don’t like, was good for me.  It’s always hard for me to go through and pick out things to discard.  Choosing things I know I love and want to keep was much easier, which made getting rid of the other stuff easier, too.

One thing I would have loved to see included in the book was a recommended number of items.  I need someone to tell me–“Courtney, you need to keep 12 summer tops, 6 fall tops, and 10 winter tops.”  Or “No home should have more than 15 pens.”  Things like that.

Collaboreads, KonMari

I LOVE the cover design.  It is clean and simple and creates the idea of tidy.  The words “fresh” and “free” come to mind, which is exactly how I want my home to feel.  And it’s a perfect home decor title–can’t you just see it sitting pretty on a bookshelf?

Stars.

Three.  The KonMari approach to decluttering and organizing is genius, however, it could be shared in an essay rather than a 224 page book.  At least it’s pretty to look at 🙂


If you follow me on Facebook, you know I asked for an accountability group to go through this KonMari process with me.  My initial thought process was that we would make it a book club of sorts, going through chapter by chapter.  Instead, let’s just post our decluttering lessons and successes, ok?  I’m tackled Libby’s closet yesterday and will be getting to the rest of our clothes this week.  Join me on Facebook or Instagram to see how that goes.

Want to participate in the decluttering challenge with me?  Let me know in the comments section.  Each week we’ll meet up on Facebook and share our progress!

DIY: Concrete TableTop

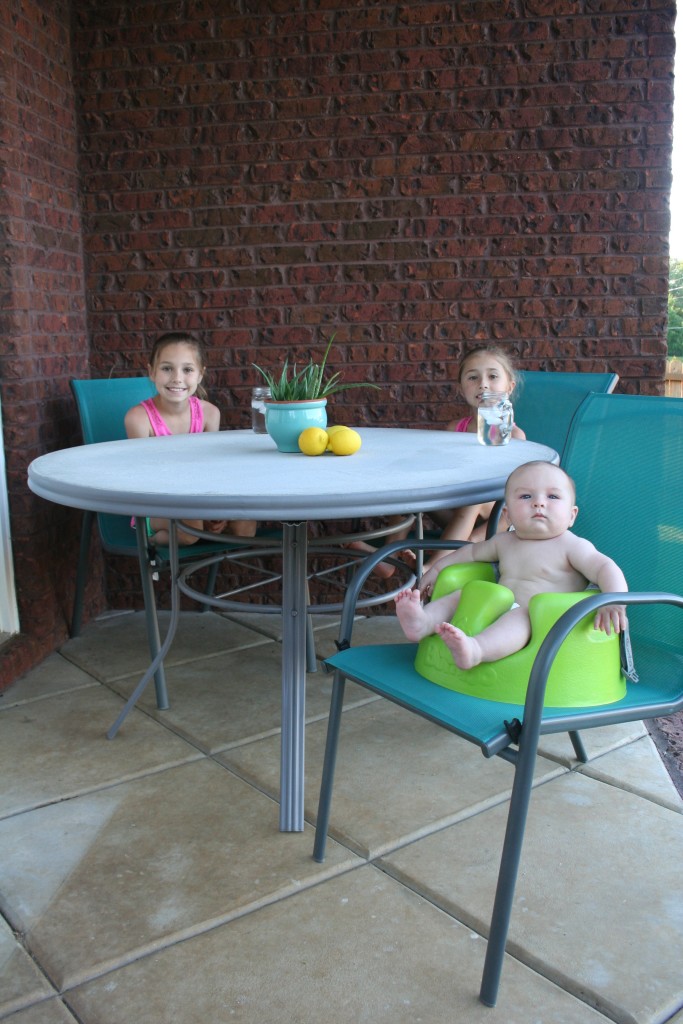
DIY Concrete TableTop @OurAlabamaLife.comAt the beginning of the summer, Justin and I were on the hunt for new patio furniture.  Our old chairs were fine, but the table was busted and paint was flaking off it.  After a few days of looking around, and a little inspiration from the people at Home Depot, I got the bright idea to redo our old table.
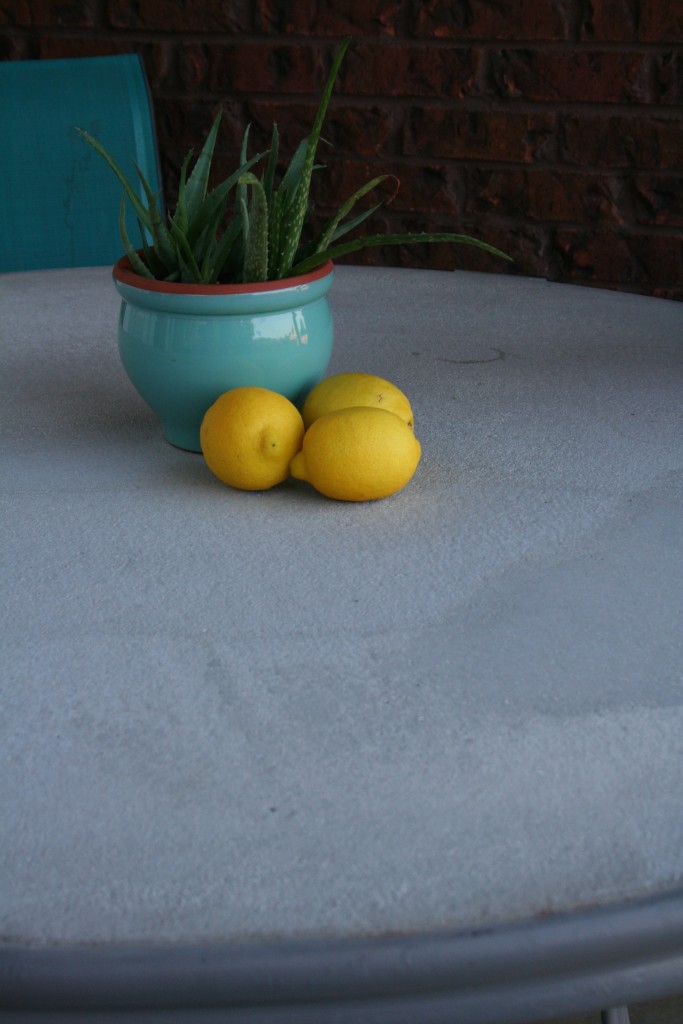
DIY Concrete TableTop @OurAlabamaLife.comA little elbow grease from Justin, a little supervision from me, and that old table got a new, concrete, top.  You can get all the steps and details over at the Home Depot blog today.  Just click here:  DIY Concrete TableTop.


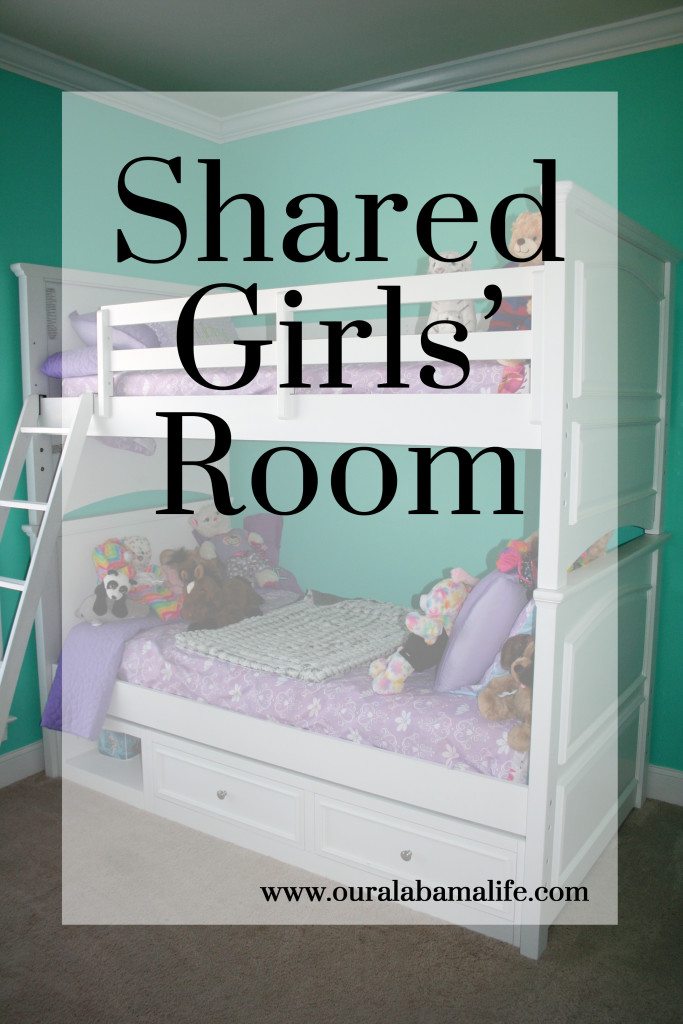
Shared Girls’ Room

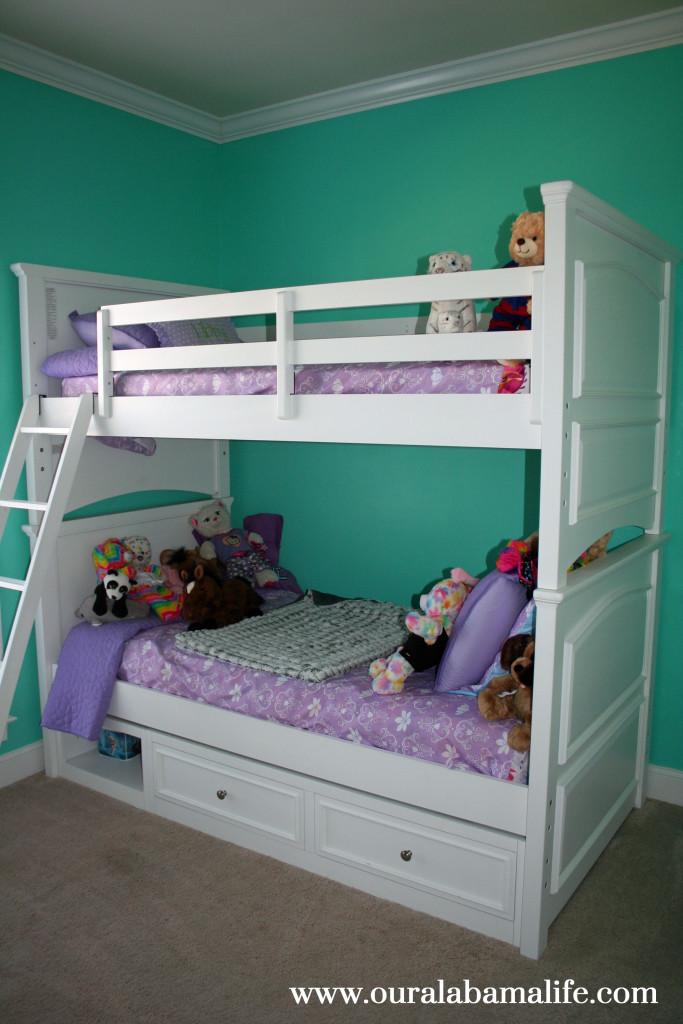
GirlsRoomWhen we started getting ready for Jase to make his entrance into our lives, we knew we had to figure something out with our bedroom situation.  Our house has three bedrooms, so we had a few options.  We could add on a bedroom.  We could have let the girls keep their own rooms and put Jase in our room.  Or we could let the girls share a room and put Jase in his own room. We let the girls’ decide what they wanted to do, and they chose to share a room.  (Yay, because this was actually the easiest option!)

I knew I wanted both girls to have their own closet space, so we moved an armoire into the girls’ room to be Libby’s hanging space.  It serves as her closet, while Kyndall gets the real closet.

GirlsRoom3Way back in October we ordered bunk beds from a local furniture store.  There were lots of issues and the beds just ended up arriving about two weeks ago.  Kyndall has the top bunk and Libby has the bottom and they absolutely love it.  They want to stay in their room all the time!

The bunk beds have these neat drawers on the bottom that store lots of toys.  I used some bins that we already had to help organize their smaller toys.

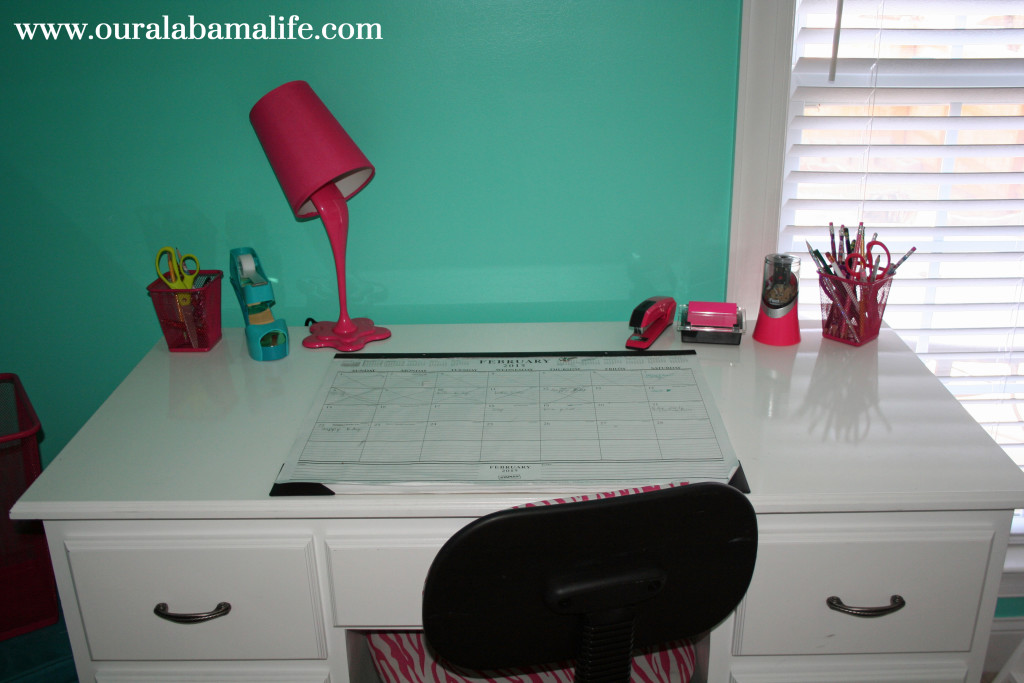
GirlsRoom1For Christmas, the girls got a desk to share, with two rolling chairs.  (Side note:  This desk stayed in our living room until the bunk beds arrived.  Those chairs probably made 1700 laps around the house on our hardwood floors.  Thank goodness the bunk beds finally came in!)

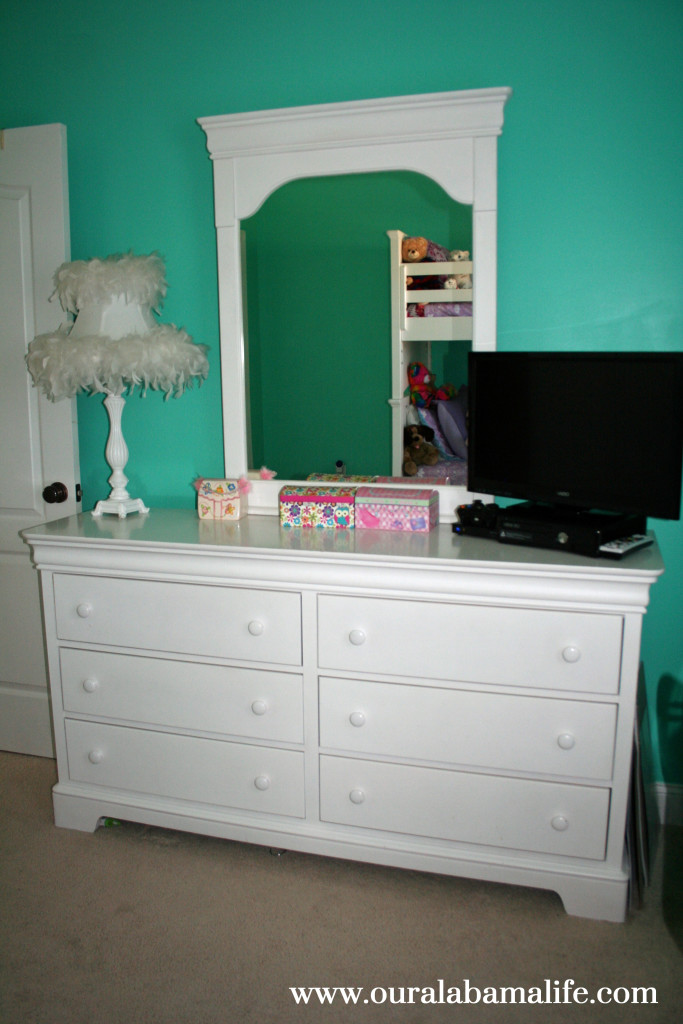
GirlsRoom2Their dresser holds all their folding clothes–Kyndall has the right side of drawers and Libby has the left.

I don’t know how long this arrangement will work–I assume in a few years the girls are going to want their own spaces–but for now, it is working perfectly!  Now if I can just figure out how to teach the girls to keep it organized the way I like it, everything will be grand.  <–Any tips on that?

Baby Boy Nursery Reveal

And now, the moment you’ve all been anxiously waiting for.  (You have been anxiously waiting, right?  RIGHT?)

nurseryrevealpin

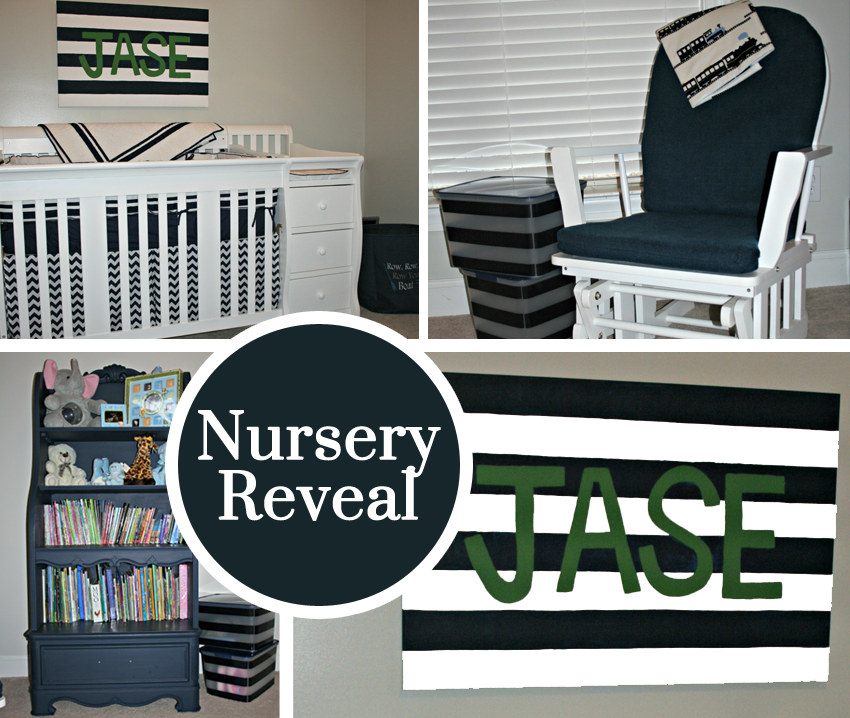
Our sweet baby boy’s nursery reveal.

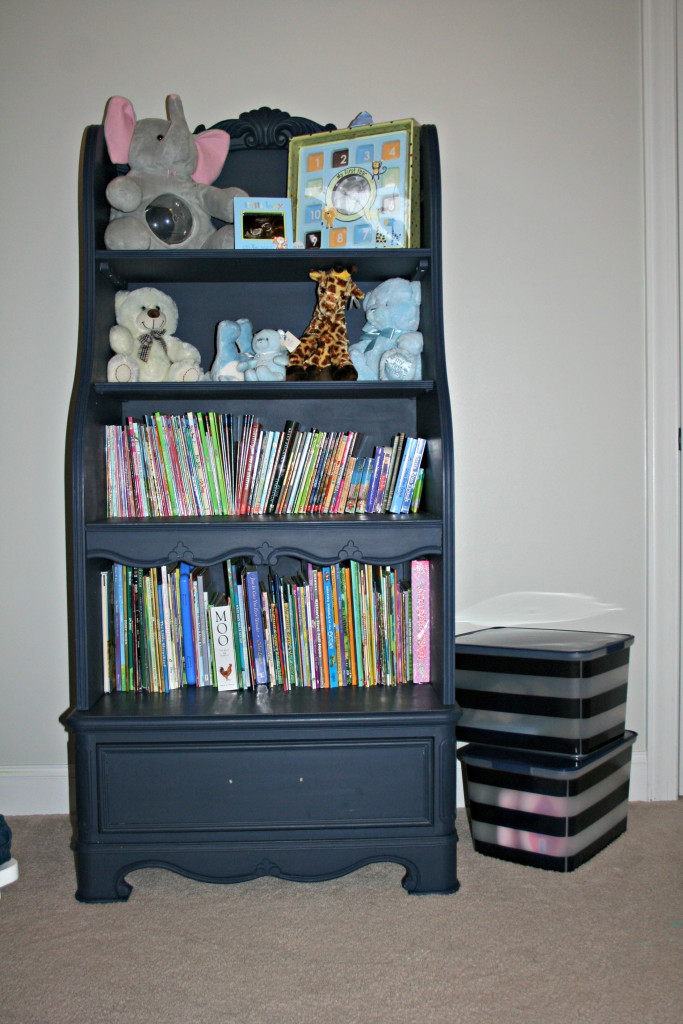
The walls are Quill by Olympic.  It’s a light gray color, best represented by the picture below.  (Some of the other pictures don’t depict it accurately.)  The bookshelf was previously in the girls room, but was an off-white color.  Thanks to Bungalow Paints (and my mom and Mallory), it is now navy.  The exact color is Auburn Nights.

IMG_4421

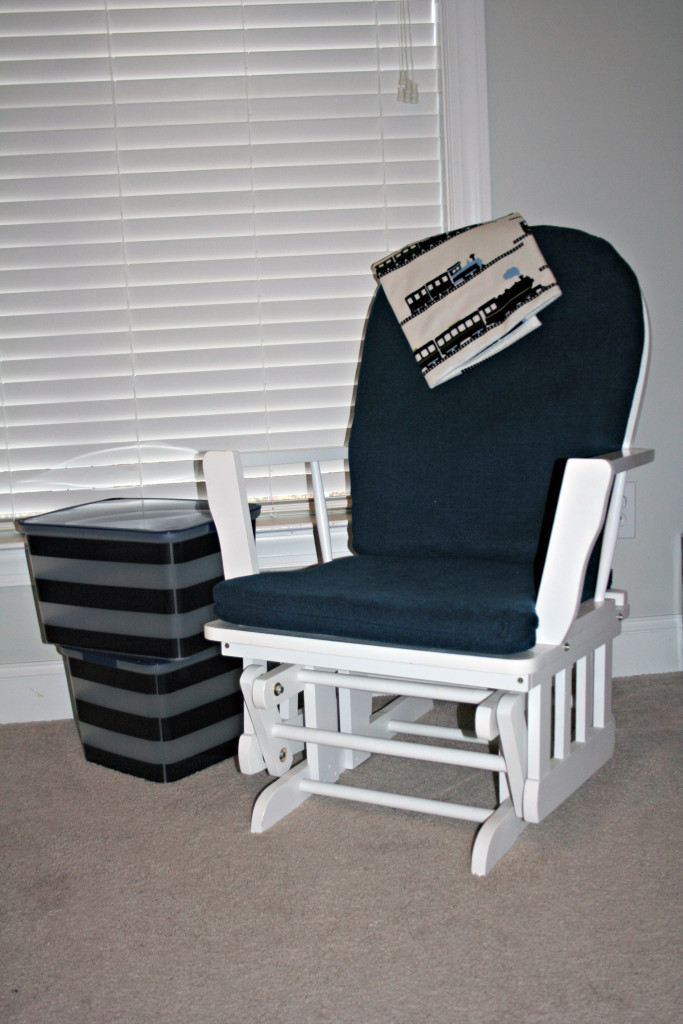
The glider rocker is a hand-me-down from the girls, purchased eight whole years ago from K-Mart for a grand $125.  That has been money well spent.   The cushions were previously pink but my grandmother recovered them to this nice navy.

IMG_4420

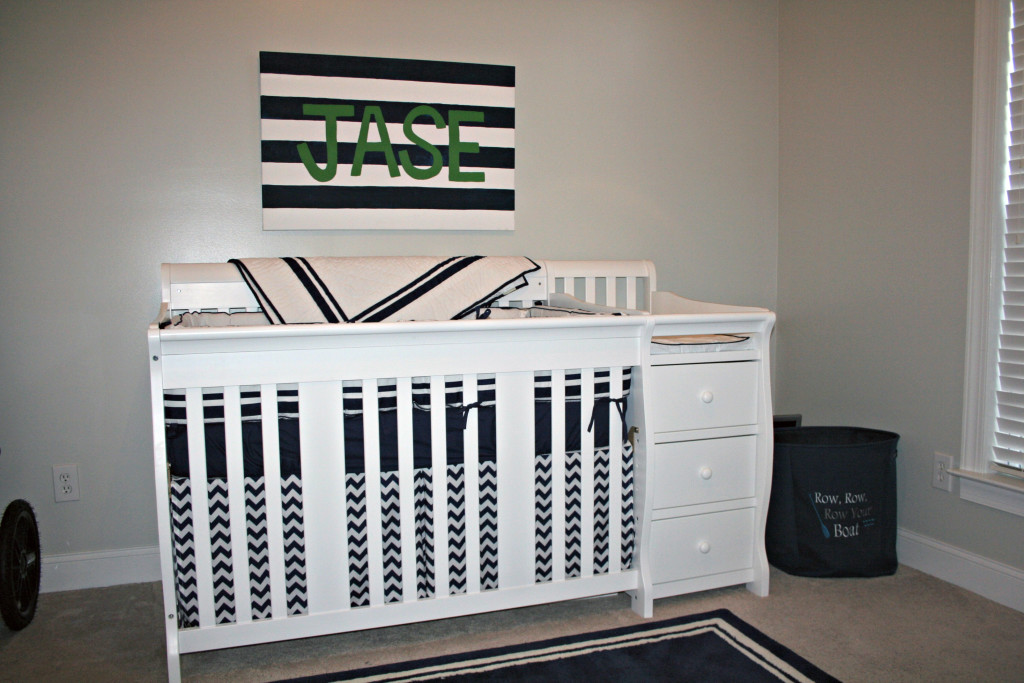
The bed is this one, purchased from Amazon.  I absolutely love it.  It has the drawers and changing table attached, as well as some small shelves at the back of the changing table.  The bedding is Harper by Pottery Barn.

IMG_4422

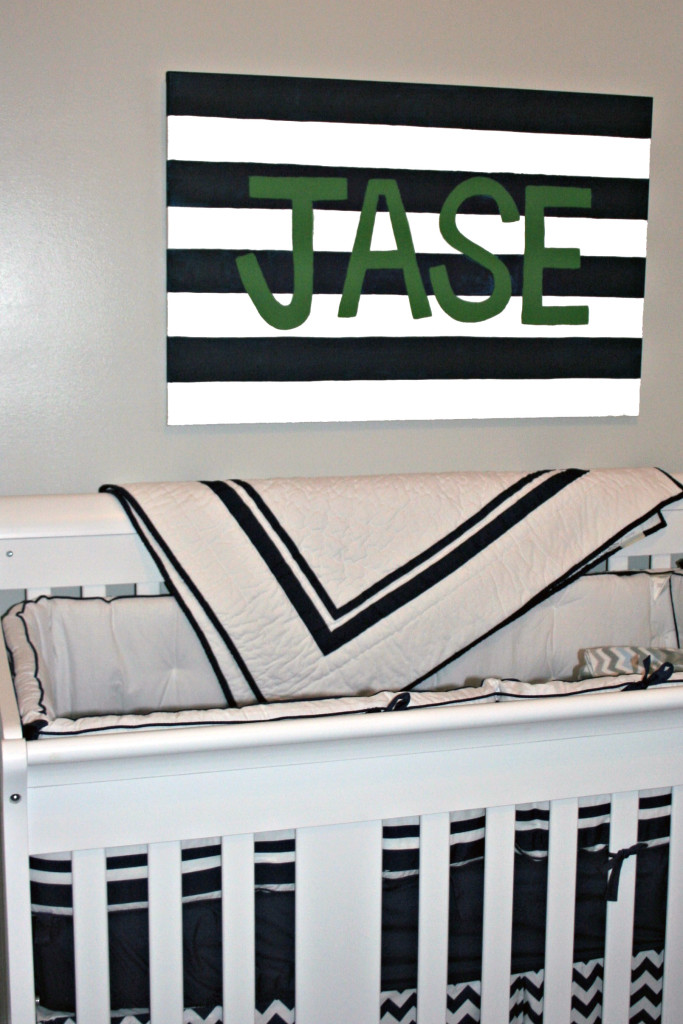
I painted the canvas above his bed, with some help from my friend Lauren.

IMG_4423

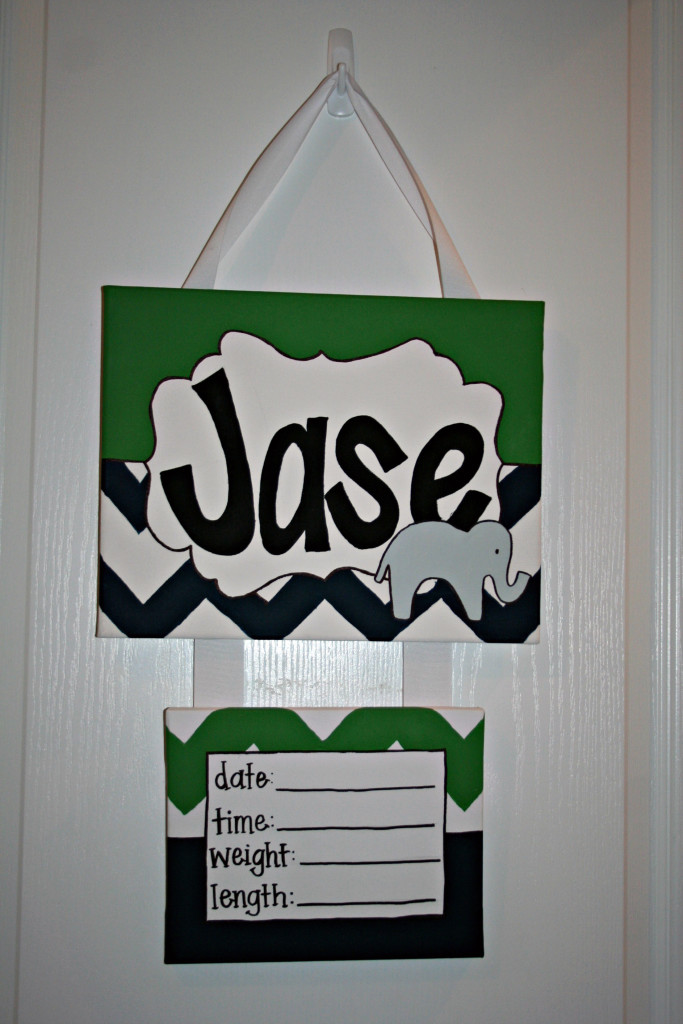
Lauren also painted the door hanger for the hospital.  Right now, it is hanging on the outside of his bedroom door.

IMG_4416

I dare not show you the inside of his closet.  Yes, it is full of super cute baby boy clothes, but it is also piled high with boxes of diapers and wipes and baby bath supplies.  You know, the necessities.

The room is all ready, his clothes are all ready, his mom is more-than-ready.  Especially after being put on bed rest this week, but that’s another story.  Now we just sit and anxiously await his arrival.

Fireplace Upgrade… No More Wires!

If you follow me on the social medias, you know that we (and by we, I mean Justin) have been redoing the space above our mantel.  When we moved into the house, the previous owners had their TV sitting on the mantel.  Not wanting to put to much thought into it, we just copied them 🙂  Up until last weekend, our mantel looked like this:

Excuse the girls in this photo, they are just doing a little yoga 🙂  
In all seriousness though, I forgot to take a “before” picture.  I don’t know about you, but I’m not in the habit of taking pictures of my TV.  But if you look around those yogini’s in the above picture, you can see that the TV is just sitting on the mantel.  The cable and Bose sound boxes are sitting on a coffee table to the right, and all those ugly wires are running down the side of the fireplace.  Gorgeous, right?

After a few days of work, this is the new view:

Justin built a shelf so that our cable and Bose sound boxes could sit safely under the TV.  All the wiring is in the back and out of sight, as it should be.  I still need to add some decor to the mantel, but I think it looks 100% better already!

Public disclaimer:  This is a project Justin has wanted to tackle for a while, but I’ve been to nervous to let him.  I’m not quite sure what I was afraid of, but I obviously need to have more confidence in his handy man skills 🙂